Parisian Backstreets - Rooftops
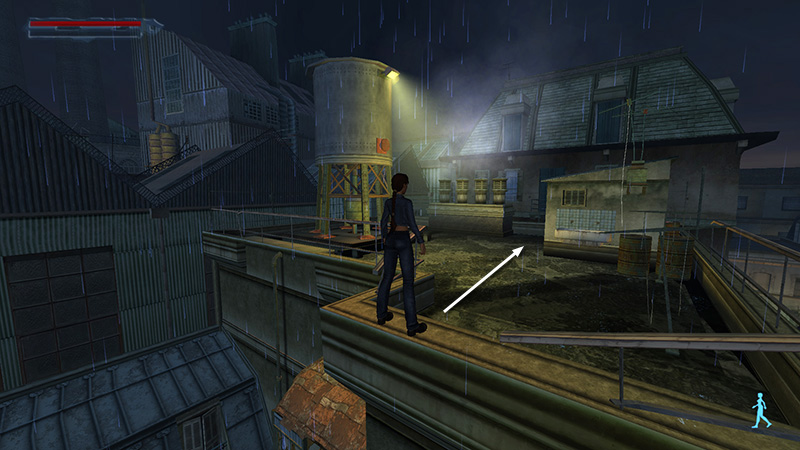
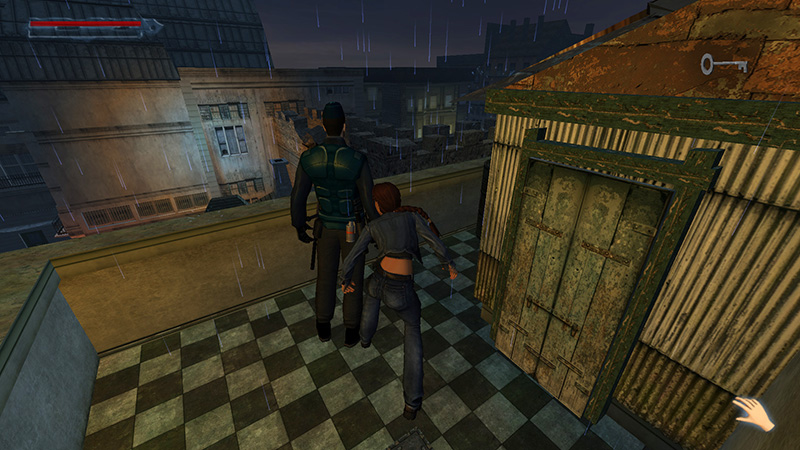
After climbing up to the rooftops, as shown in the previous section, approach the little shed with the padlocked door. Lara comments that there could be something useful inside, but she'll need to find something to pry the door open.
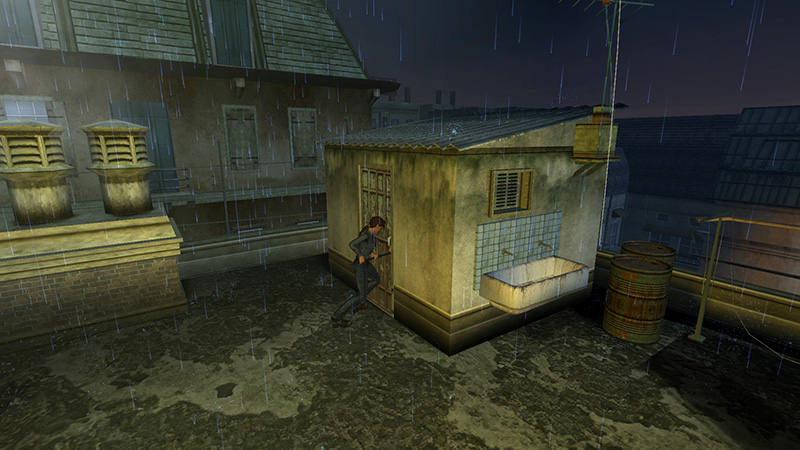
If you followed this guide, you'll already have a CROWBAR. Use it to pry the lock off.
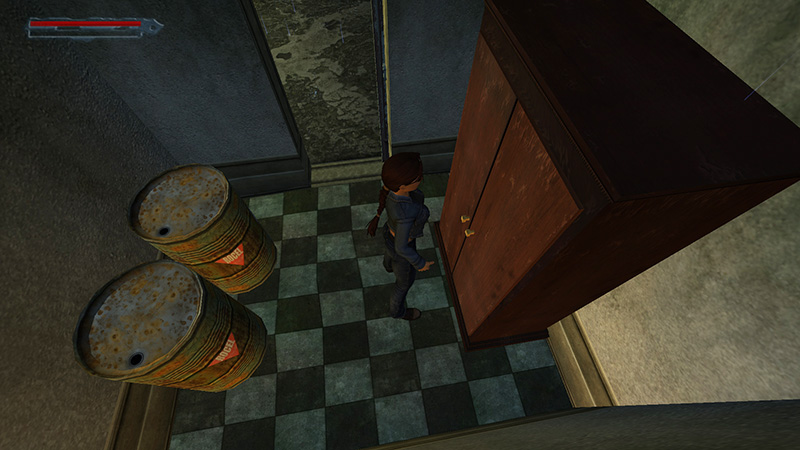
Enter and search the cabinet to find an M-V9 SEMIAUTOMATIC (13). No ammunition yet, though.
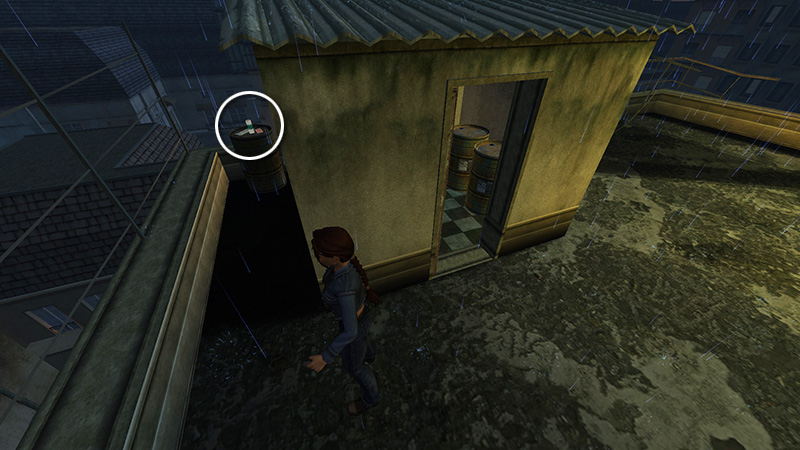
Go around the side of the shed to find some health bandages (14) (40% health) sitting on a barrel.
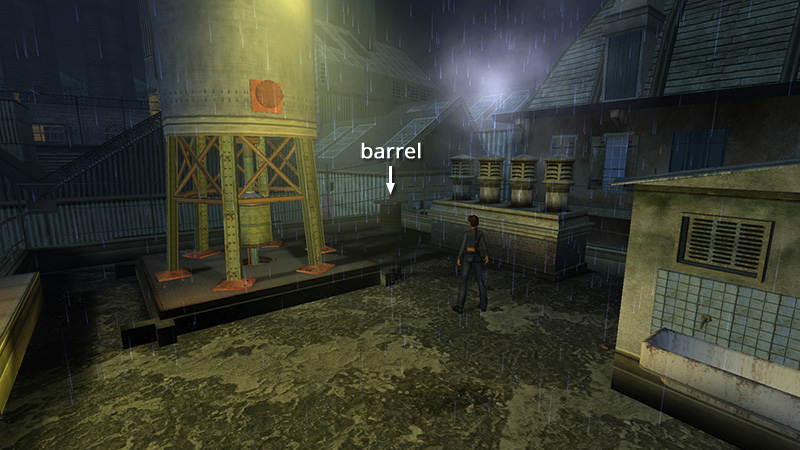
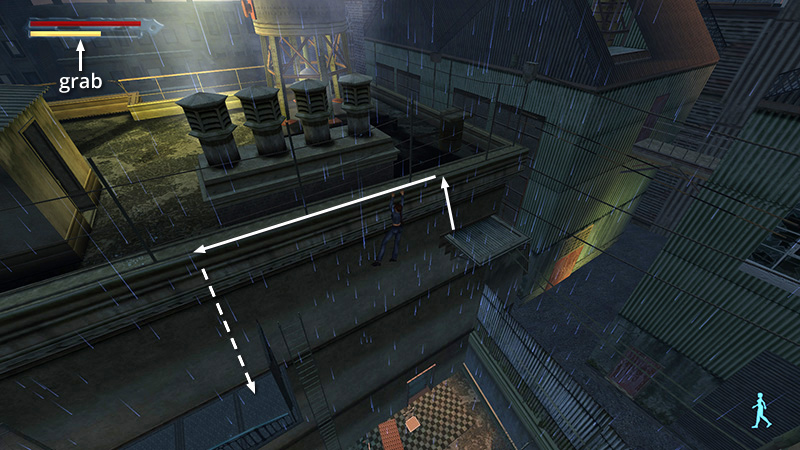
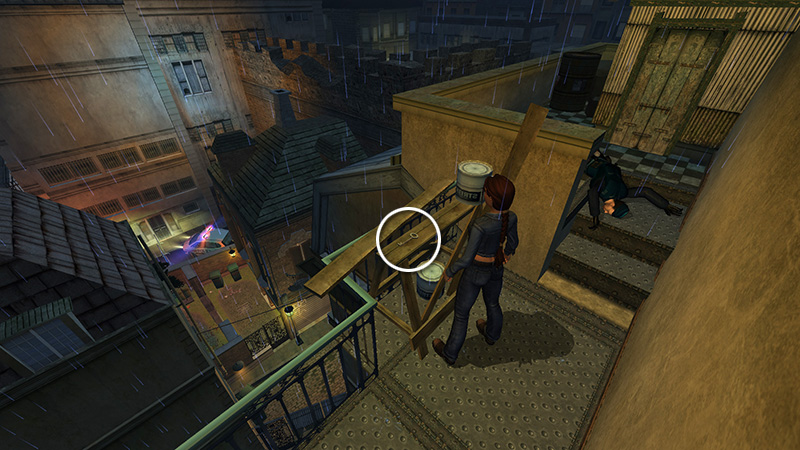
In the far left corner of the roof, beyond the water tower, is another barrel Lara can move.
Position her next to it and hold Action + Back to pull it away from the railing.
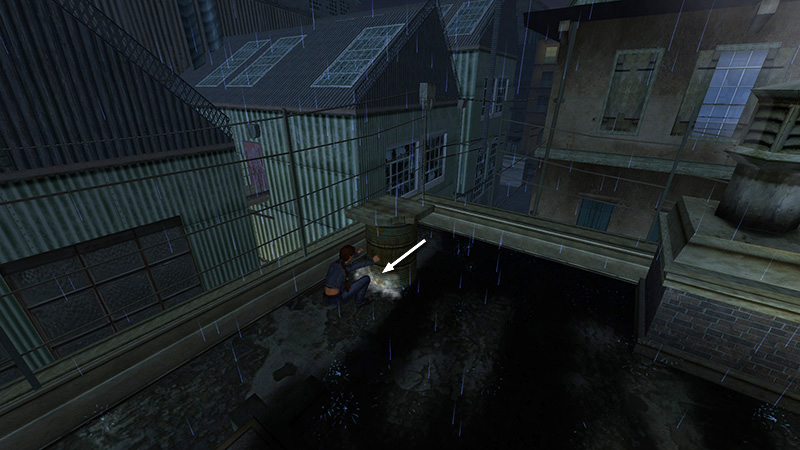
Stand where the barrel was and Lara will spy another CROWBAR (15) on a ledge below. Walk to the edge and press Action. Lara will turn around and lower herself to hang from the edge. Press Action again to let go. Then press Action once more to pick up the CROWBAR, which you don't really need if you go the first one.
NOTE: If you skipped the first part of the level and this is your FIRST CROWBAR, you should climb back up and use it to pry open the locked shed to get the gun and the upper-body strength upgrade you would have gotten earlier. You'll need the upgrade to make the next climb. Then return here.
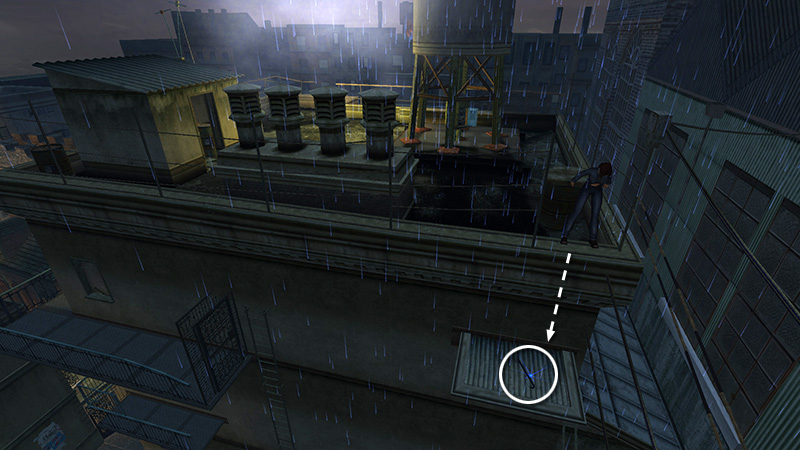
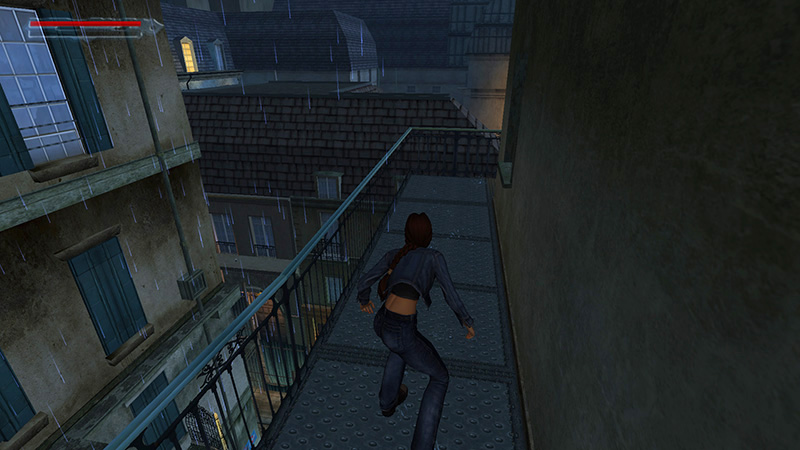
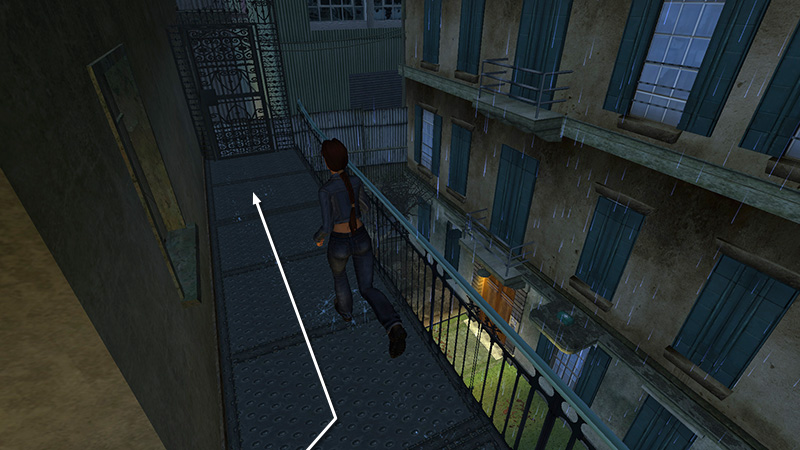
While standing on the ledge where you found the CROWBAR, face the building and sidestep (Walk + Left) to the left edge of the ledge.
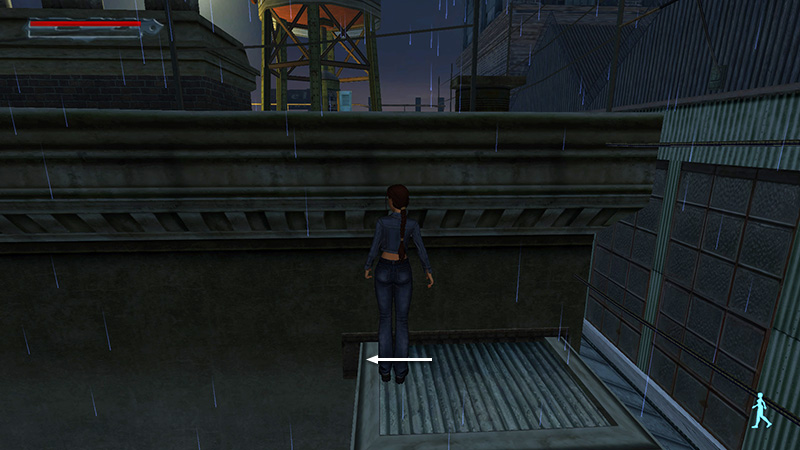
Then jump up to grab the edge of the roof. This way Lara will have a shorter distance to cover. Traverse to the left without hesitation, passing above the ladder and metal gate, and drop onto the next ledge. If you start too far to the right or pause for any reason, or if you missed the strength upgrade, Lara won't have enough 'grab' to make it to the other side.
There's a guard (1) around the next corner. Lara explains how to get past him. Press the Stealth button to go into stealth mode. (Drunken monkey style FTW!)
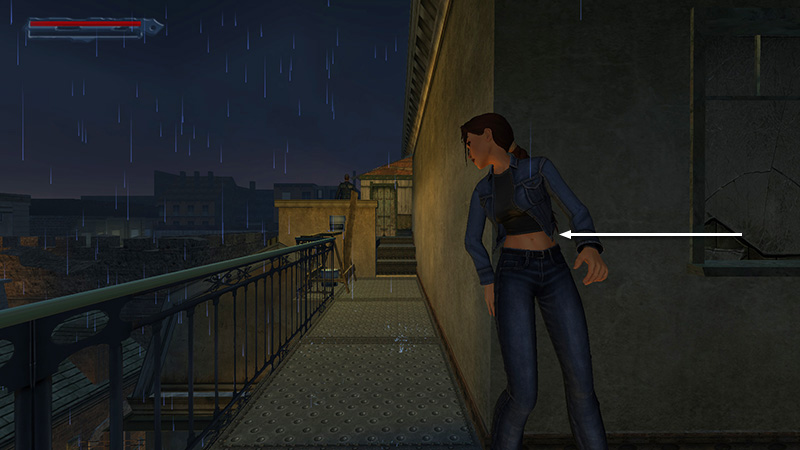
Stand close to the wall and press Action to hug the wall. Then use direction buttons or left stick to move along the wall and peer around the corner. (If you did the earlier part of the tutorial, this is review.)
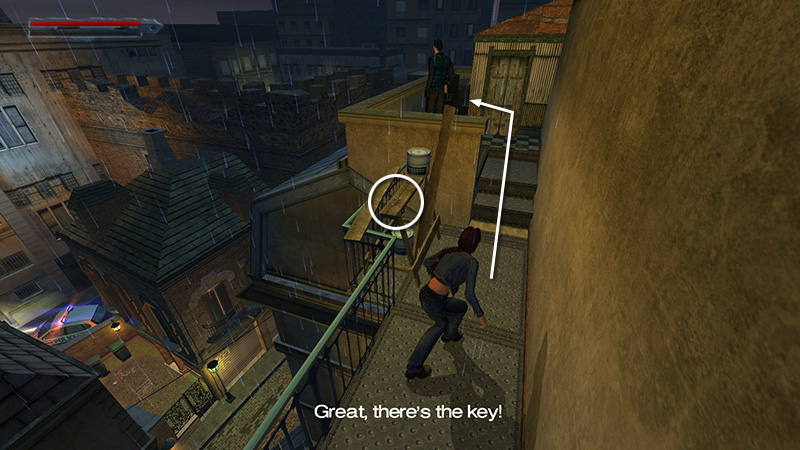
Press Action again to step away from the wall. Still in stealth mode, sneak around the corner. Lara spots the GANTRY GATE KEY (16) sitting on a sawhorse at the foot of the steps. If you like, you can sneak forward to the key, deactivate stealth, grab the key, re-activate stealth, and sneak away before the guard notices. Or, if you want to practice the stealth takedown, sneak up behind the guard.
When you see the hand icon, press Action to subdue him.
NOTE: If you accidentally alert the guard, Lara can fight him hand-to-hand. Move in and press Action (singly and in two- and three-tap combos to punch and kick). She may be injured in the process, though, so you might want to save before approaching the guard and reload if your sneak attack doesn't work.
Then deactivate stealth mode and pick up the key.
Return to the other end of the walkway and press Action to unlock the gantry gate, then Action again to open it.
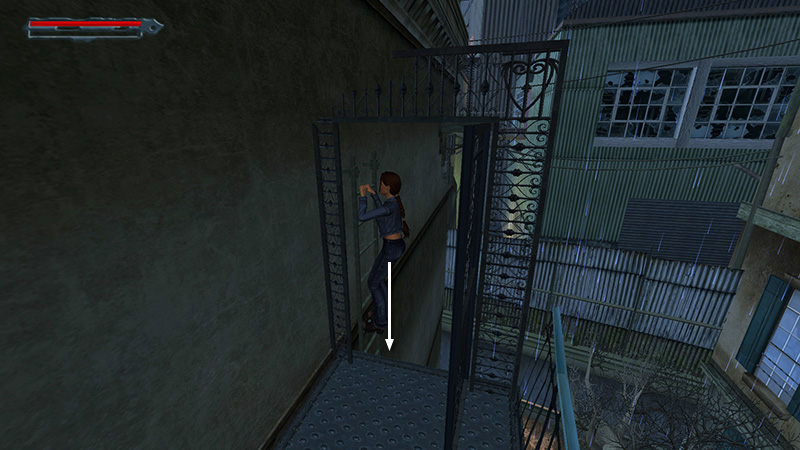
Walk forward and Lara will climb onto the ladder. Climb down to the bottom.
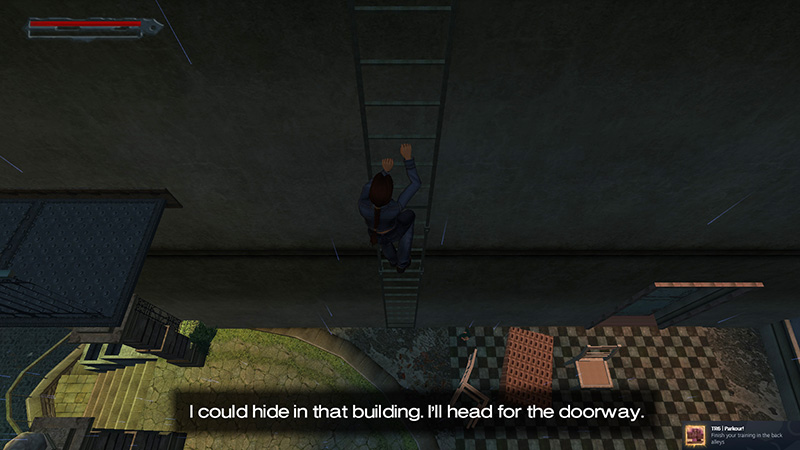
The "Parkour!" achievement/trophy should unlock on the way down. And, as you climb, Lara says, "I could hide in that building. I'll head for the doorway."
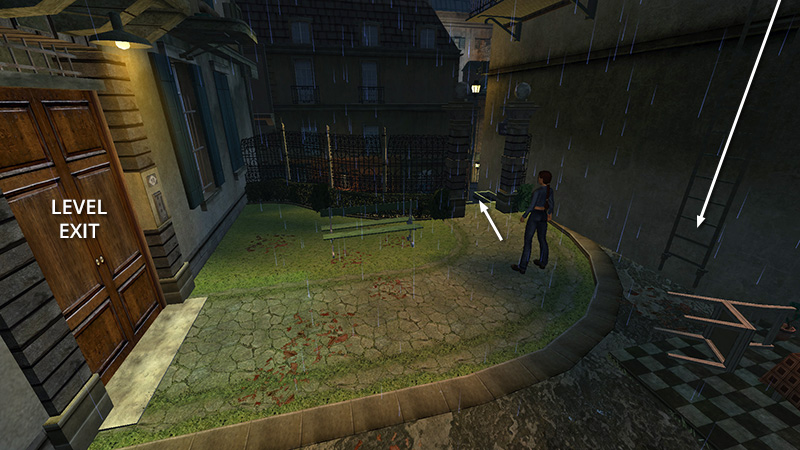
If you don't care about 100% completion, proceed directly to the wooden doors opposite the ladder to FINISH THE LEVEL. If you want all pickups, read on.
NOTE: If you followed the path described here and the "Parkour!" achievement/trophy doesn't register, make sure you've updated your game. This issue was addressed in the first patch.
[Previous | Next | Parisian Backstreets]
DARK MODE: I plan to add optional dark mode for these pages, but my current priority is updating the walkthroughs. Meanwhile, may I suggest a reputable dark mode browser extension, such as Dark Reader? (Download only from trusted sites, like darkreader.org or your browser's official add-on/extension site.)
Walkthrough text and diagrams copyright © Stellalune (email ). Feel free to copy or print this walkthrough for personal use. By all means, share it with friends, but please include this credit line so people can send me their feedback. No part of this walkthrough may be reproduced on another site without permission.